


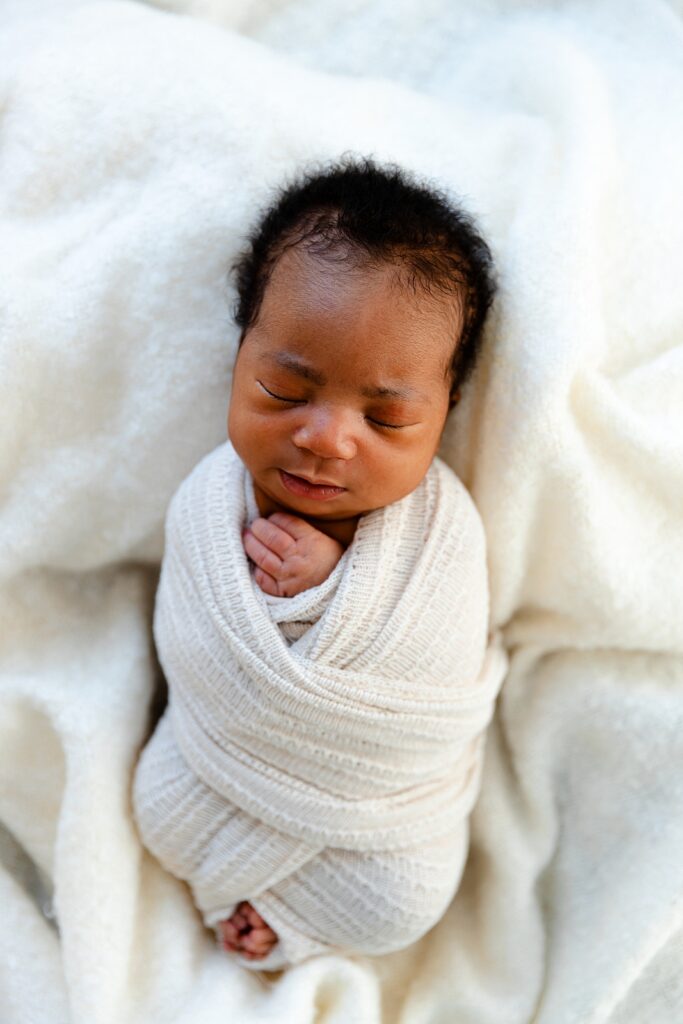
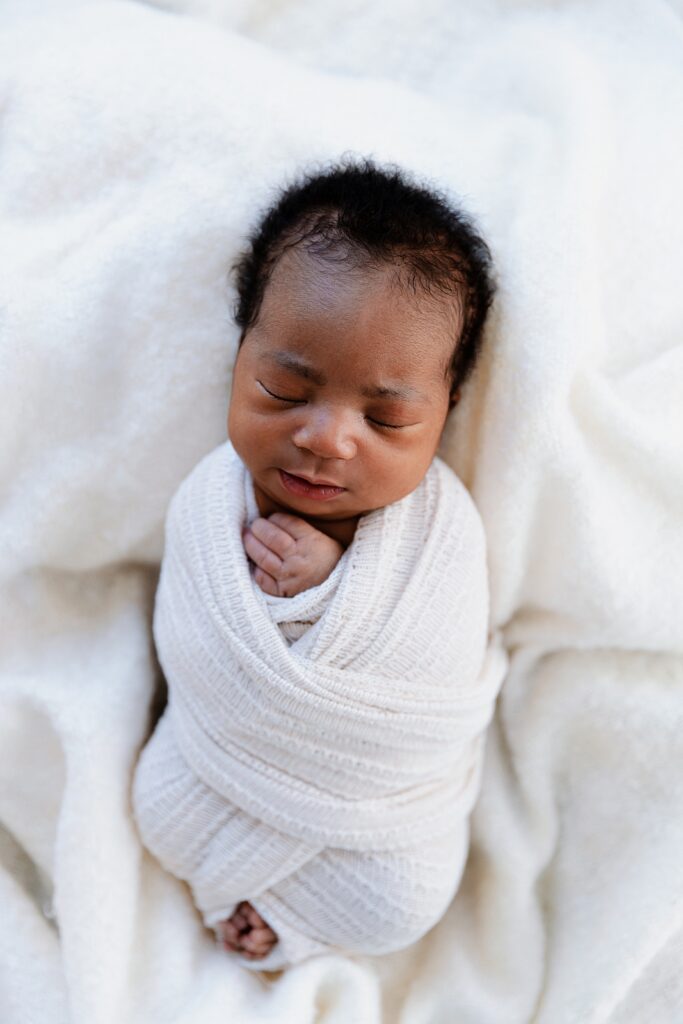
Picture this: You’ve just finished what you thought was a gorgeous newborn session. The poses were perfect, baby was cooperative, and you nailed those dreamy shots you’ve been practicing. You sit down to edit, apply your go-to preset, and… what the hell? Baby looks like they’ve been bathing in Cheetos dust.
Sound familiar?
You’re not alone, and more importantly, you’re not crazy. If you’re struggling to fix orange skin tones in newborn photos, that orange cast plaguing your images isn’t some mysterious curse—it’s a workflow problem that’s entirely fixable once you understand what’s actually happening.
The Real Culprit Behind Orange Skin Tones in Newborn Photography
Here’s the thing that’s going to blow your mind: The biggest factor affecting your ability to fix orange skin tones in newborn photos isn’t your preset choice, your camera settings, or even your lighting setup.
It’s your editing order of operations.
Most photographers I work with are fighting an uphill battle they don’t even realize they’re in. They’re applying creative presets to images that haven’t been properly color-corrected first, then spending hours trying to fix orange skin tones that result from this backwards workflow. It’s like trying to paint a masterpiece on a dirty canvas—you’re never going to get the results you want.
Why Presets Aren’t Magic Wands (And How You’re Probably Using Them Wrong)
Let’s talk about presets for a hot minute. I see photographers collect them like anti-aging products, always thinking “maybe this one will finally work!” But here’s what preset creators don’t tell you: Those beautiful before-and-after examples were shot with perfect white balance and exposure and created specifically for their camera and their lighting setup. Not yours.
When you slap a preset onto an image with wonky white balance, you’re asking that preset to perform miracles it was never designed to do. The preset is trying to apply its color grading to an image that’s already color-shifted, which creates those crazy green, magenta, red and orange skin tones in newborn photos that make you want to throw your computer out the window.
Think of it this way: A preset is like using someone else’s glasses prescription. They might see perfectly, but you’re going to get a headache.
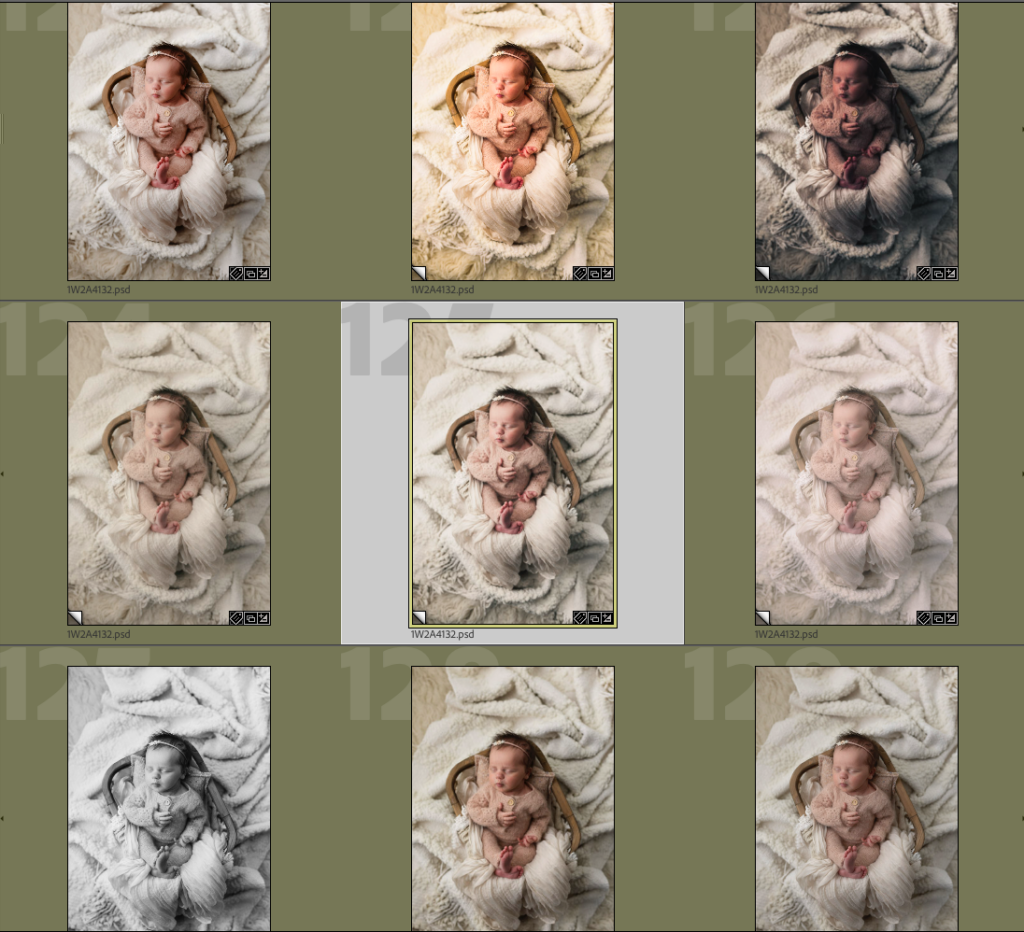
Take this example for instance- these are all presets from popular vendors, except for the first one (top left) which is my own studio preset. The purchased presets all look drastically different, some way too yellow, some too dark and some washed out. None of them are a one click solution in my opinion!
The Step-by-Step Process to Fix Orange Skin Tones in Newborn Photos
Ready for the game-changer? Here’s the proper editing workflow that will help you fix orange skin tones in newborn photos and eliminate 90% of your color issues:
1. Correct Your Exposure First Start by getting your exposure dialed in. You need to see what you’re actually working with before you can make accurate color decisions.
2. Fix White Balance Second Once your exposure is set, get your white balance corrected. This is the most critical step to fix orange skin tones in newborn photos. If your white balance is off, every adjustment you make afterward is just building on a shaky foundation.
3. Handle Your Retouching Skin smoothing, blemish removal, all that good stuff comes next. Do this work on properly color-corrected images. I promise it will save you hours of your precious time.
4. THEN Apply Your Creative Color Grading This is where your presets and creative vision come in. Only after you’ve established a solid technical foundation should you start adding your artistic flair.
Why White Balance Matters More Than You Think
Consistent white balance isn’t just about making your images look “correct”—it’s about creating a cohesive body of work that looks intentional and professional. When your white balance is all over the place, your Instagram grid looks like it belongs to five different photographers.
But here’s the kicker: Proper white balance is what allows you to develop a true signature style. When you’re starting from a neutral foundation every time, your creative choices become consistent and recognizable. Your presets actually work the way they’re supposed to. Your edits become faster because you’re not fighting technical issues.
The Truth About “Difficult” Lighting
I hear photographers blame their inconsistent results on “difficult lighting” all the time. Studio lighting, window light, outdoor shade—somehow every lighting situation is “difficult” and requires a different approach.
But here’s what I’ve learned after 20 years of professional editing: There’s no such thing as difficult lighting, only improper white balance correction. Once you nail this step, you’ll be amazed at how manageable every lighting situation becomes.
Even mixed lighting scenarios—like window light combined with tungsten lamps—become totally workable when you approach white balance correction systematically instead of just hoping your preset will magically fix everything.
Your Editing Breakthrough Is Closer Than You Think
Look, I get it. You’ve probably tried a million different approaches, bought countless presets, and watched hours of YouTube tutorials trying to fix orange skin tones in newborn photos. You might be thinking, “But Paige, I’ve tried fixing white balance before and it didn’t solve everything.”
The difference is in the approach. It’s not just about moving a slider until the image “looks better.” It’s about understanding color temperature, knowing how to read your histogram, and having a systematic approach that works every single time.
When you master this foundation, everything else clicks into place. Your presets start working like they do in those gorgeous examples. Your editing time gets cut in half because you’re not fighting weird color shifts. Your portfolio becomes cohesive and recognizable.
Most importantly? You’ll finally know how to fix orange skin tones in newborn photos consistently, every single time.

Ready to Fix This Once and For All?
If you’re tired of fighting inconsistent skin tones and want to finally master the technical foundation that makes everything else possible, that’s exactly what we cover our brand new course “No More Orange: How to Master White Balance for Flawless Newborn Edits.” Or if you’re ready to completely overhaul your entire editing workflow, check out our full Newborn Editing Academy.
We start with the fundamentals—proper white balance and exposure correction—before moving into the advanced techniques that will set your work apart.
Because here’s what I know for sure: You’re probably way more talented than you realize. You just need the right foundation to build on.


LEAVE A COMMENT
Comments