




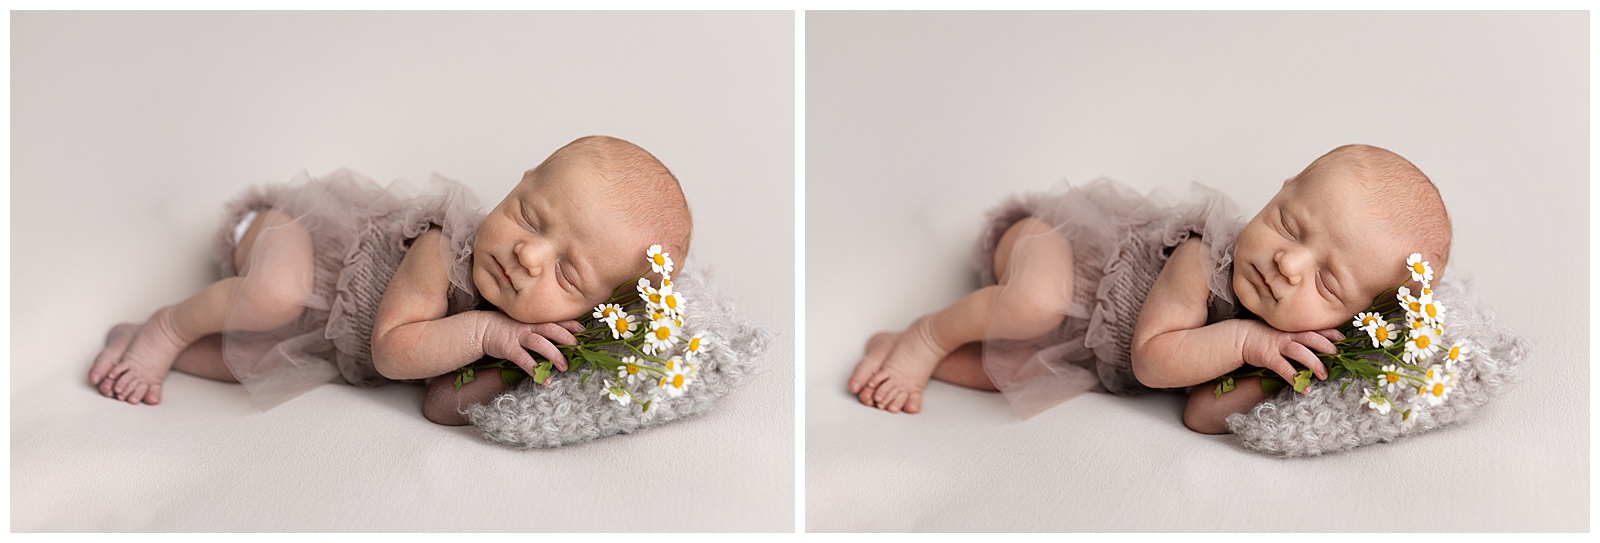
Newborn color correction is one of those skills that looks simple until you’re staring at a pair of purple, grey-toned feet that look nothing like the rest of the baby’s body. Your first instinct is to pull the reds down — feet are red, red must be the problem, right?
Wrong.
This is one of the most common color correction mistakes I see in newborn photography, and it’s actually making your images worse. Let me explain what’s really happening and how to fix it.
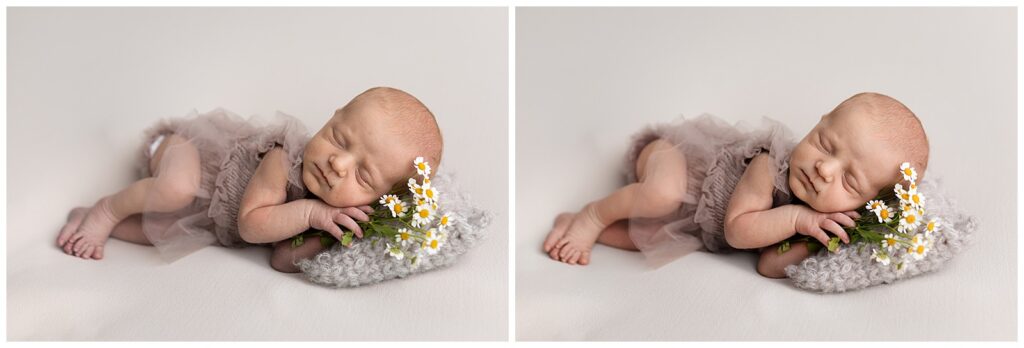
What’s Actually Happening With Purple Feet in Newborn Color Correction
Newborn babies have immature circulatory systems. Blood doesn’t pump efficiently to their extremities yet, which means the hands and feet are often the last places to get good circulation. The result is feet that look purple, bluish, or grey — especially in the first few days of life.
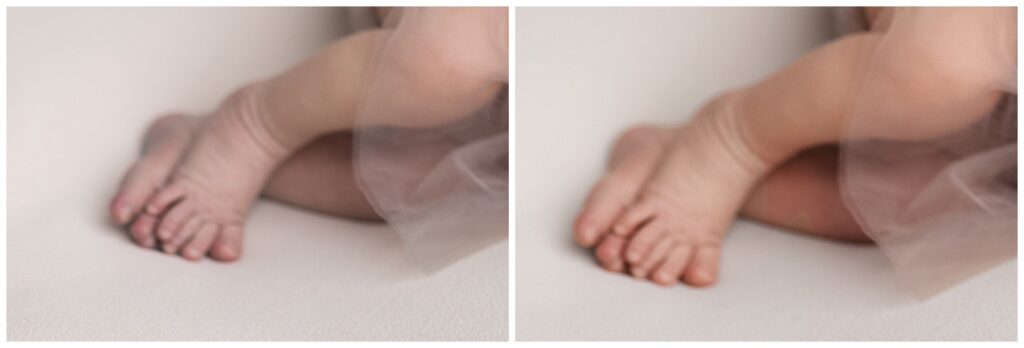
Here’s the thing: that color isn’t red. It’s desaturated. The blood isn’t circulating enough to give those toes the warm, oxygenated color you see in the rest of the body. So when you look at a purple or grey foot and think “too much red,” you’re misreading the problem entirely.
Purple is what happens when you don’t have enough warm color. It’s red and yellow that have been drained out, leaving behind cool, muted, slightly blue-grey tones. If you go in and pull the reds down further, you’re not fixing the problem — you’re creating cyan, desaturated feet that look lifeless.
I’ve seen this in galleries where everything else looks beautiful and then you get to the wrapped shot with those little toes peeking out and they look almost corpse-grey. That’s what happens when you fight purple by removing red.
The Counterintuitive Fix for Newborn Skin Color Correction
The actual fix is to add saturation and add warmth — specifically red and yellow — back into those tones.
I know that sounds backwards. You’re looking at something that already looks too colored and I’m telling you to add more color. But what you’re seeing as “too much color” is actually the wrong kind of color. You’re not working with too much of something — you’re working with an imbalance.
Step 1 — Address the Desaturation First
Look at the feet and ask whether the problem is desaturation or a hue shift. In most cases it’s both, but desaturation usually comes first. A purple foot is a low-saturation foot. Before you do anything else, bring the saturation back up. When you do, you’ll often notice the purple starts to resolve on its own — because you’re giving the color somewhere to go.
I personally like to do this by using a curves layer in photoshop. I put a point in the middle of my red channel and bring up the midtones slightly. Then I put a point in the middle of my blue channel and bring down the midtones. The opposite of red is cyan- so when you add that red in you’re moving away from the cool blue/green tones and the opposite of blue is yellow, so when you take away blue you’re moving toward those warmer yellow tones. The combination of both adding red and removing blue gets you that beautiful warmth that your subject is currently lacking.
Step 2 — Shift the Hue Toward Warmth
Once you’ve got better saturation in that area, work on the actual hue. The goal is to shift the reds slightly toward yellow — warmer, not cooler. Think about what healthy skin tones look like: they’re a mix of red, yellow, and a little magenta. Purple and grey happen when you lose the yellow and the saturation. You’re essentially rebuilding those tones from scratch.
The goal isn’t identical color across the whole baby — that would look artificial, because extremities genuinely are a different tone. The goal is harmony. Feet that feel like they belong to the same body and aren’t distractingly different.
I like to shift my hue by using a Hue/Saturation layer in photoshop. Go to your red channel and move it just slightly toward the yellows (to the right). You can also fine tune the luminosity here as well if they seem a little too dark.
The Photoshop Tools That Make Newborn Color Correction Precise
As I mentioned, I handle this primarily in Photoshop using curves and Hue/Saturation layers, which gives me the most control over targeted color ranges without blowing out the rest of the image. Working on individual color channels in curves lets me add warmth precisely where I need it. Hue/Sat lets me target those red and magenta ranges specifically and shift them toward yellow without affecting the rest of the baby’s skin.
The key is working non-destructively with masks so that corrections stay on the feet and hands and don’t bleed into everything else. The last thing you want is to warm up the feet and accidentally turn the whole baby orange.
I also use Evoto for a lot of my skin work and if you do as well you can absolutely use curves and your color mixer panel to do this same thing using masks within Evoto.
A Quick Way to Check Your Newborn Photo Color Correction
If you’ve made a correction and you’re not sure you’re heading in the right direction, desaturate the image temporarily and look at the luminosity. Purple feet and healthy skin should have similar brightness values. If the feet are significantly darker or lighter than the surrounding skin after desaturation, you have a luminosity problem in addition to a hue problem.
Also trust your eye more than your tools. If the correction looks clinical or too perfect, back it off. The goal with newborn skin is natural — not flawless. There should still be variation, warmth, and life in those tiny toes.
Want to See Exactly How to Fix Newborn Color Correction in Photoshop?
I just posted a new video on our YouTube channel walking through my exact process for these color shifts — specifically how I use curves and Hue/Saturation layers to target feet and hands without affecting the rest of the image. It’s one of those techniques that’s hard to fully describe in words and makes a lot more sense when you see it in action.
Head over to our YouTube channel and look for the newest upload — it’s worth watching with your own problem images open so you can try it in real time.
And if you want to go deeper, color theory is one of the core modules inside the Newborn Photography Editing Academy. You can find all the details at editingfornewbornphotographers.com.
Cheers to warm toes and happy clients.
— Paige


LEAVE A COMMENT
Comments