


If you’ve ever opened Lightroom after a newborn session and just… started clicking — you’re not alone, and your newborn photo editing workflow might be working against you without you even realizing it. Most photographers approach editing the same way: open the folder, find a decent-looking image, start tweaking. It feels productive. It is not efficient. And by the end of a two-hour editing session, you’ve got a gallery that looks inconsistent from setup to setup, you’ve made the same decisions six times over, and you still somehow have more work to do.
There’s a better sequence. It’s not complicated. But it does require doing things in a specific order — and that order is probably the opposite of what feels natural.
Why Your Newborn Photo Editing Workflow Order Actually Matters
This isn’t about perfectionism or having a rigid system for its own sake. It’s about the fact that each step in an editing workflow sets up the next one. When you skip ahead or work out of sequence, you end up creating more work for yourself — not less. The most common version of this: applying a color grade before your images are properly neutralized. You’ve probably seen this play out if you’ve ever bought a preset pack. You’re excited, you apply it, and it looks nothing like it did on the photographer’s images who sold it to you. You spend the next hour trying to tweak it into submission and it never quite gets there. That’s not a bad preset. That’s a starting point problem. Their image started from a clean, neutral, correctly exposed base. Yours didn’t. The preset is doing the same thing to two completely different foundations and getting two completely different results.
When you neutralize first — correct exposure, accurate white balance, whites actually white, images consistent with each other — and then retouch, and then apply your color grade, the grade lands the same way every time. Consistent input, consistent output. That’s the whole game.
Step One: Cull Before You Touch Anything
The first rule of a solid newborn photo editing workflow is that you do not edit before you cull. Full stop.
The first rule of a solid newborn photo editing workflow is that you cull before you edit — and you cull ruthlessly.
That said, if you’ve got a standout image screaming at you from the back of the card and you want to pull it for a sneak peek, go for it. We’ll talk more later about how to do a one-off edit and still stay consistent with the rest of your gallery when you get there. That’s a solvable problem.
But for the session as a whole? Efficient, ruthless culling is one of the most direct ways to protect your time and your profitability. If you’re editing too many images, you are spending time you don’t have on work your client will never see. Nobody needs five nearly-identical frames of the same pose. Your client doesn’t want to choose between them, and you don’t have time to edit all of them. Pick the best one. Move on. The photographers who consistently finish sessions on time and actually make money on their editing hours are the ones who have learned to be decisive in the cull — not the ones holding onto every frame just in case.
Culling deserves its own deep dive, and we’ll give it one in the next post in this series.

Step Two: Rate and Group by Setup
Once you’ve culled, organize your selects by scene or setup before you do anything else. Wraps together. Posed basket or prop shots together. Family images together. If you changed lighting or location put those into groups as well.
This grouping is where batch consistency starts to build. When you jump across the whole session randomly — editing a wrap shot, then a family image, then back to a posed setup — you’re constantly resetting your eye. Staying within one group at a time lets you see the images as a unit and make decisions that hold across all of them.
Step Three: Choose an Anchor Image for Each Group
This is the step most photographers skip, and it costs more time than almost anything else in the newborn photo editing workflow.
Here’s how it actually works: from each setup group, pull one image — your strongest shot from that scene — and do your exposure and color correction on that one image only. Then, before you sync anything, pull all of your anchor images together and look at them as a set. Do they match each other? Is one running warmer than the others? Is one slightly underexposed compared to the rest? This is your chance to catch inconsistencies before they multiply across the whole gallery.
So say you have 7 setups with 5 images each — 35 images total. You’re not editing all 35. You’re editing 7. You get those 7 anchors looking consistent with each other, then you go back to each group and sync the remaining 4 images to their anchor. One click. Now all 35 images have a consistent foundation and you’ve only made detailed decisions on 7 of them.
That’s where the time savings actually live. Not in editing faster, but in making fewer decisions that still produce consistent results across the entire gallery.

Step Four: Get to Neutral First — Before Any Stylization
This is where the workflow really separates itself from how most people edit.
Before you apply a preset. Before you retouch skin. Before you make any creative decisions at all — get every image to a clean, neutral foundation. White balance should be accurate and consistent. Shadows and Highlights should both have detail for a well balanced exposure.
Here’s why this matters so much: if some images in your gallery are running cool and others are running warm, and you then apply the same preset to all of them, the preset is going to land differently on each one. You won’t get a consistent gallery. You’ll get a gallery that looks like it was shot and edited on different days.
Starting from neutral means you’re adding the same thing to the same starting point every time. It sounds tedious, but it’s actually the fastest path to a cohesive gallery — especially when you’ve already synced your groups from a solid anchor image.
Step Five: Retouch After Neutral, Before the Color Grade
Here’s why the order matters more than most photographers realize: color grading, for most people, means making images pop. More contrast, richer tones, brighter highlights, deeper shadows. That all sounds great until you think about what it does to problem areas that haven’t been retouched yet.
Say a baby has a little bit of acne and their feet are reading slightly cold and blue — totally normal newborn stuff, nothing dramatic. You add your color grade. That contrast boost you just applied made the acne more saturated. The feet got colder and darker. What was a subtle, easy fix before the grade is now a bigger, more complicated problem. You’ve exacerbated everything you still needed to fix.
Retouch first and those subtle issues are gone before the color grade ever touches them. You fix the acne when it’s mild. You warm the feet when it’s a small adjustment. Then your color grade goes on top of a clean image and there’s nothing left to make worse.
The rule is simple: remove the problems before you amplify everything. It’s a lot easier to fix something subtle than something the contrast just turned up to eleven.
Step Six: Color Grade Last
Color grading is the last step, and that sequencing is intentional.
By the time you get here, you have a culled, grouped, anchor-synced, neutralized, retouched gallery. When you apply your color grade now — whether that’s a preset you’ve built, a purchased one you’ve refined to match your work, or a manual grade — it’s landing on a consistent foundation every single time. That’s the only way to get consistent results.
One thing that genuinely helps: a small mood board of your own best work. Five to ten images that represent the look you’re going for. Having a visual target for each session — especially for color temperature and contrast — makes color grading faster and keeps your body of work cohesive over months and years. Without a reference point, you’re making a slightly different creative decision every single time, and your portfolio will start to feel scattered even when the photography itself is strong.
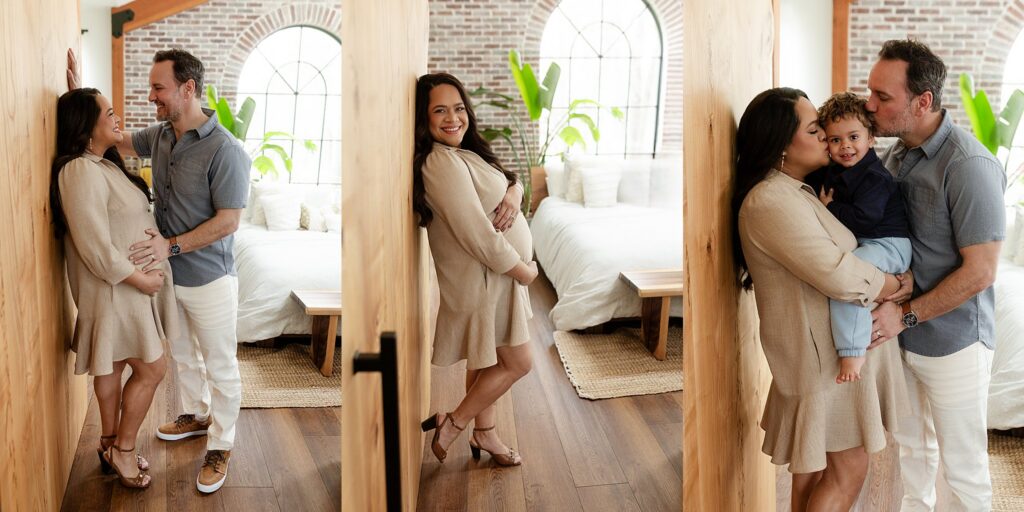
What This Means If You’re a Boise Family Waiting on Your Gallery
If you’ve had a session with us at Glean & Co and you’re wondering what’s actually happening in the days between your session and your ordering appointment — this is it.
Editing a newborn gallery isn’t clicking a few buttons. It’s a deliberate, sequential process: culling, grouping, anchoring, neutralizing, retouching, and color grading — in that order, for every session. It’s what makes the difference between a gallery that looks polished and consistent and one that feels a little off in ways that are hard to name.
The goal is that when you see your images for the first time, every single one looks like it belongs with the others. That doesn’t happen by accident — and honestly, it’s a big part of what separates a professional from someone who is really good at taking pictures.
My fourteen year old son is a perfect example of this. He loves photography. He’s constantly scheming about how he wants to sell car photography to supercar owners — mostly, I suspect, because he just wants to be around those cars. And here’s the thing: he actually takes a pretty great photo. He has a good eye. But what happens after he takes it? Completely lost. Doesn’t know how to get it off the card, has no idea what he’s looking for when he’s trying to pick the best one, and color grading is a foreign language. The capture is the fun part. Everything after it is where the craft lives — and that’s what turns picture-taking into an actual profession. (We’re working on it. Slowly.)
That post-capture workflow — the culling, the anchoring, the neutralizing, the retouching, the grading in the right order — is the unglamorous part that clients never see at all. At your ordering appointment you’re choosing from unedited selects. You’re trusting that when your final gallery lands in your inbox, it’s going to be cohesive and polished. That trust is earned by the workflow happening behind the scenes.

Want to Go Deeper on Newborn Editing?
I’m Paige McLeod — I’ve been behind a camera for over 25 years, working as a professional photo editor for close to 20 and focusing solely on newborns for the last decade. I teach the editing side of this work through Editing for Newborn Photographers and the Newborn Photography Editing Academy.
If you’re a photographer who wants to get your newborn photo editing workflow dialed in — not just faster, but actually consistent — that’s exactly what those courses are built to do. And if you’re a Boise family curious about booking a session, you can find us at gleanandco.com
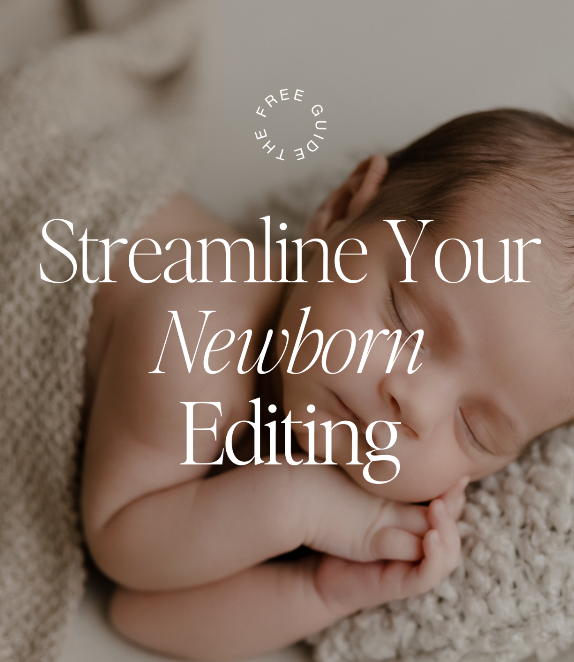
Download our FREE GUIDE: Streamline Your Editing Workflow
Up next in this series: Culling a Newborn Session — what to keep, what to cut, and how to stop second-guessing yourself.


LEAVE A COMMENT
Comments